Table of Contents
Hydraulic Quick Coupling Stuck or Won’t Lock? Causes & Fixes
A quick coupling that refuses to engage, locks and then jams, or won’t release under pressure is one of the most common field failures on hydraulic systems. It is also one of the most dangerous to force: a coupler that pops free under residual pressure can whip a hose or injure a technician.
This guide covers the five causes we see most often on ISO 7241, ISO 16028 and ISO 5675 couplings — and the fix sequence that clears them without damage.
Safety note: Never use a pipe wrench, hammer or pry bar on a stuck quick coupling while the line is pressurized. Depressurize the circuit first. For flat-face (ISO 16028) couplings, use a pressure-relief tool such as the Parker FD89-1001-08-08 style or an IRB14-type relief adapter to bleed trapped pressure before disconnecting.
Why Quick Couplings Get Stuck
A quick coupling locks through a mechanical chain: the sleeve slides back, locking balls drop into the groove on the nipple, and the sleeve returns to hold them. Any part of that chain — the sleeve, the balls, the groove, or the pressure pushing against the poppet valves — can fail.
The symptoms tell you which link broke:
| Symptom | Most likely cause | Risk if forced |
|---|---|---|
| Coupler won’t push fully onto the nipple | Trapped pressure, or dirt in the groove | Damaged locking balls |
| Locks but won’t release with the sleeve pulled back | Trapped pressure, or bent sleeve | Bent sleeve / broken spring |
| Sleeve slides but coupler still comes off | Worn locking balls or groove | Hose whip under pressure |
| Locks, then unlocks itself under vibration | Wrong pair or worn balls | Sudden disconnect |
| Coupler is stiff to push on from day one | Paint or debris on the nipple | Scored valve seat |
Cause 1 — Trapped Pressure in the Line
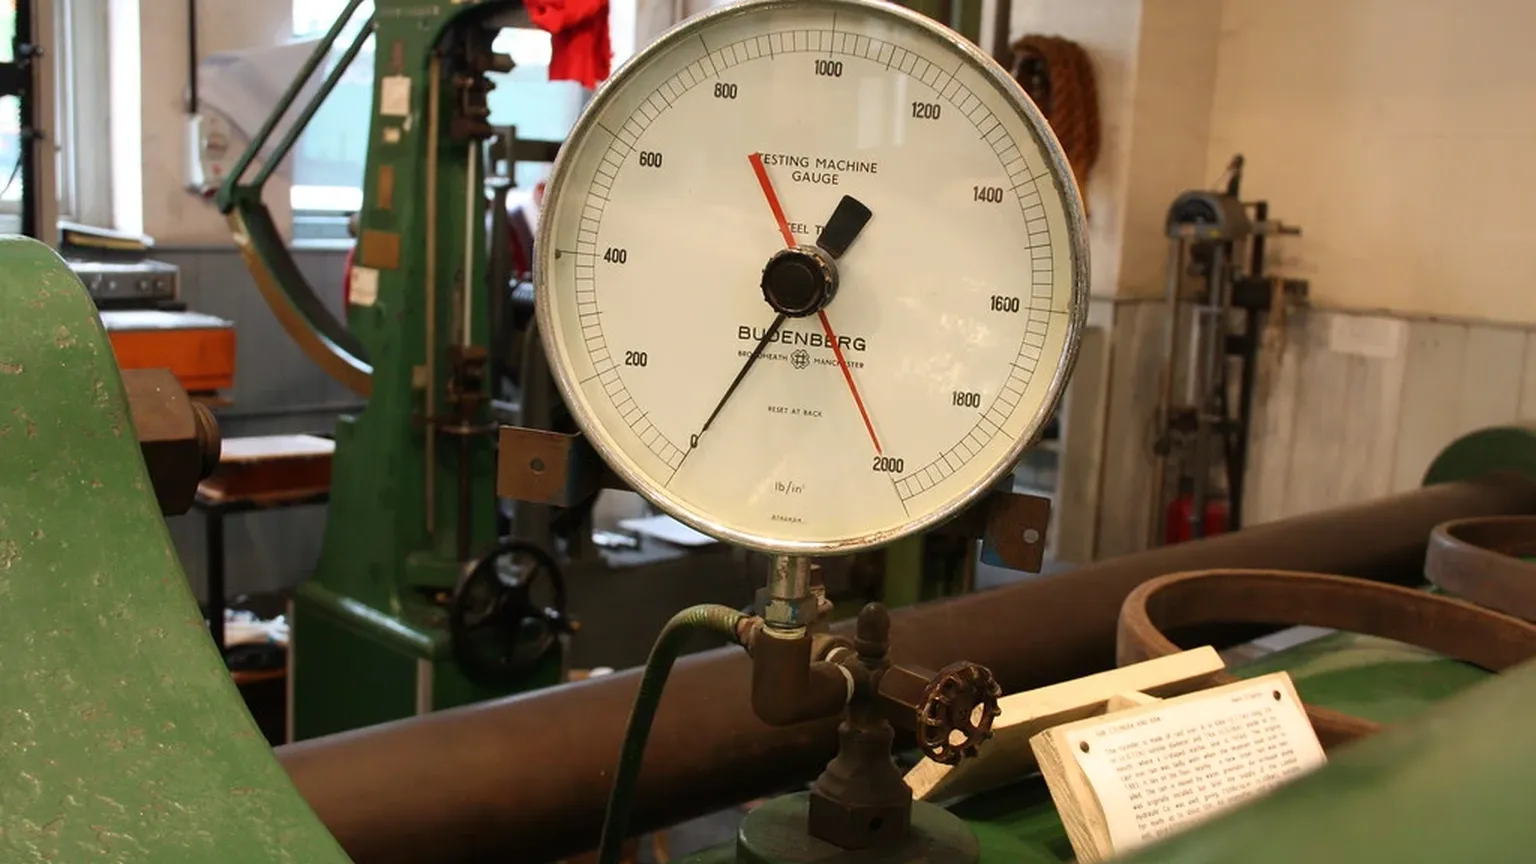
The most common cause of a coupler that won’t engage or won’t release is pressure trapped between the two poppet valves. When you disconnect a pressurized line, the male half’s poppet seals against the female’s, and a small volume of oil at system pressure stays trapped in the cavity between them.
With 150 bar behind a 1/2” poppet, that trapped volume pushes the poppet hard against the coupler body — which is exactly what makes the coupler feel “locked solid.”
Check: Pull the sleeve back and try to release. If the coupler won’t slide off at all, suspect trapped pressure first, before any mechanical damage.
Fix:
- Depressurize the circuit at the machine’s main relief valve, or cycle the implement to dump pressure.
- On flat-face couplings, use a pressure-relief tool to bleed the cavity (thread it onto the male half’s relief port per ISO 16028).
- On ball-lock couplings, wrap a rag around the tip and gently crack the connection — never stand in front of it.
- If the coupling has a pressure-relief built in (some ISO 7241 Series A bodies), rotate the sleeve to the relief position before pulling.
Prevent: Standardize a bleed-down step in your daily shutdown procedure. Machines that sit overnight with implements raised are the usual offenders.
Cause 2 — Dirt or Paint in the Locking Groove
The locking balls need a clean groove on the nipple to drop into. A layer of dried mud, paint overspray, or a hardened grease that has turned to varnish is enough to stop the balls seating, which makes the sleeve refuse to travel its full stroke.
Check: Wipe the nipple with a rag. If the groove is visibly filled or the surface feels rough, that’s your cause. Paint overspray is the classic on rebuilt machines — couplers get masked during repainting and the groove edge catches the edge of the paint line.
Fix:
- Clean the nipple with a solvent-safe cloth (brake cleaner or mineral spirits) and a soft brass brush.
- For dried varnish, soak the nipple in solvent for 10–15 minutes, then brush.
- Never use a file or sandpaper on the groove — you’ll change the profile and the balls won’t lock positively.
Prevent: Fit the dust caps supplied with the coupler whenever the implement is parked. Caps are cheap; a replaced coupling is not.
Cause 3 — Damaged or Worn Locking Balls
Locking balls are hard chrome steel spheres held in the coupler body. When they wear flat spots, or when one ball is missing, the sleeve can slide but the coupler no longer holds. A worn coupler will lock when new and progressively loosen over months — a slow failure that often goes unnoticed until a hose drops.
Check: With the sleeve pulled back, look through the ball holes. Balls should be round, proud of the body, and all present. If any ball is flat, pitted, or missing, the coupler needs a rebuild.
Fix:
- Ball replacement is a rebuild job: remove the sleeve spring, tip the body, and replace the ball set (typically 6–10 balls depending on size). A Parker 6600 Series rebuild kit or the equivalent for your coupling size includes balls, spring, and seals.
- If the groove on the nipple is also galled, replace both halves — mating a new ball set with a worn groove halves the service life.
Prevent: Don’t use couplers as lifting points, and never hammer a coupler onto a nipple. Both deform the ball seats.
Cause 4 — Bent Sleeve or Deformed Body
A dropped implement, a loader bucket that swings into the coupler bank, or years of hammering can bend the sleeve or deform the body. A bent sleeve binds against the body and either stops the lock or traps the sleeve in the locked position.
Check: Rotate the sleeve through its full stroke with the coupler disconnected. It should move smoothly with even resistance. Any gritty, tight, or uneven feel points to a bent sleeve or a scored body bore.
Fix:
- If the sleeve is visibly bent or the body is dented, replace the coupling. Straightening a sleeve is not a field repair — the ball race tolerances are in the order of a few hundredths of a millimeter.
- If the body bore is scored by contamination, the coupling is also beyond field repair. The scored surface will tear the next set of O-rings within hours.
Prevent: Add spring guards or rubber boots to couplings on machines that work in tight quarters (skid steers, excavator auxiliary circuits). Protect the coupler bank with a guard plate where buckets swing past.
Cause 5 — Wrong Pair or Cross-Threaded Collar
Not every “stuck” coupling is damaged. Mating a Series A nipple with a Series B coupler — or a BSPP thread with a JIC thread — produces a joint that seems to lock but won’t seal, or a thread that jams partway. ISO 7241 Series A and Series B bodies look similar at a glance and are deliberately not interchangeable.
Check: Look for the identification flat or the stamped standard mark on the coupler body. Measure the nipple groove position and diameter against a known-good sample. If the pair came from different manufacturers, verify both halves are the same series before blaming the coupling.
Fix:
- Wrong series: replace one half so both are the same series (A-to-A or B-to-B). Mixing them voids the seal and can damage the balls.
- Cross-threaded collar: back the collar off carefully. If the threads are galled, replace the adapter rather than forcing it — a galled thread will leak and can seize on the machine’s port.
Prevent: Standardize one series per machine bank, and tag adapters with their thread standard (NPT vs BSPP vs JIC vs ORFS) at install time. Thread identification takes 30 seconds with a thread gauge and saves the most expensive failure on this list.
The Fix Sequence That Works in the Field
When a coupling arrives at the bench “stuck,” run this order — it clears ~80% of cases without parts:
- Depressurize and bleed (Cause 1) — 2 minutes, fixes the majority.
- Clean the nipple groove (Cause 2) — solvent + brass brush.
- Inspect the balls (Cause 3) — flashlight through the ball holes with the sleeve back.
- Stroke the sleeve (Cause 4) — feel for binding; replace if scored.
- Verify the pair (Cause 5) — series, size, thread. Only then open the rebuild kit.
Each step is 2 minutes of work. The order matters because the first three causes look identical from the outside, and pulling a coupling apart to replace balls when the real problem was trapped pressure wastes a rebuild kit and an hour.
FAQ
Q: Can I use a wrench to break a stuck quick coupling loose? A: Only after the circuit is depressurized. Under pressure, forcing the sleeve can launch the coupler. Depressurize first, then free the sleeve with even hand pressure — never a lever.
Q: How much pressure is “trapped pressure” worth worrying about? A: Any residual pressure. Even 5 bar in the cavity between the poppets is enough to hold a 3/8” coupler against a firm pull.
Q: Does WD-40 help a stuck coupling? A: It can mask the symptom by lubricating a binding sleeve, but it won’t fix a bent sleeve or trapped pressure. Clean first, fix the cause, and lubricate only with the coupling manufacturer’s recommended grease.
Q: When should I replace instead of rebuild? A: Replace the coupling if the body is dented, the sleeve is bent, or the bore is scored. Rebuild (balls + spring + seals) if the body and sleeve are true and only the wear parts are gone.
Q: Are flat-face couplings (ISO 16028) less likely to get stuck? A: They resist contamination better because the seal is on the flat face rather than in a groove — but they trap pressure the same way, which is why ISO 16028 systems use pressure-relief tools.
NEXT STEP
Need the Right Hydraulic Quick Coupling for Your Machine?
Tell us the standard, size, thread and quantity — we respond within 24 hours with pricing and lead time.
Written by
Ray ChanHydraulic quick coupling sourcing specialist. Ray helps distributors, OEMs and maintenance teams find the right ISO 7241 / ISO 16028 / ISO 5675 couplings and replacement parts.