Table of Contents
Maintenance guide — this is a hands-on service article for technicians and fleet maintenance teams. It assumes the coupling is removed from the circuit and fully depressurized.
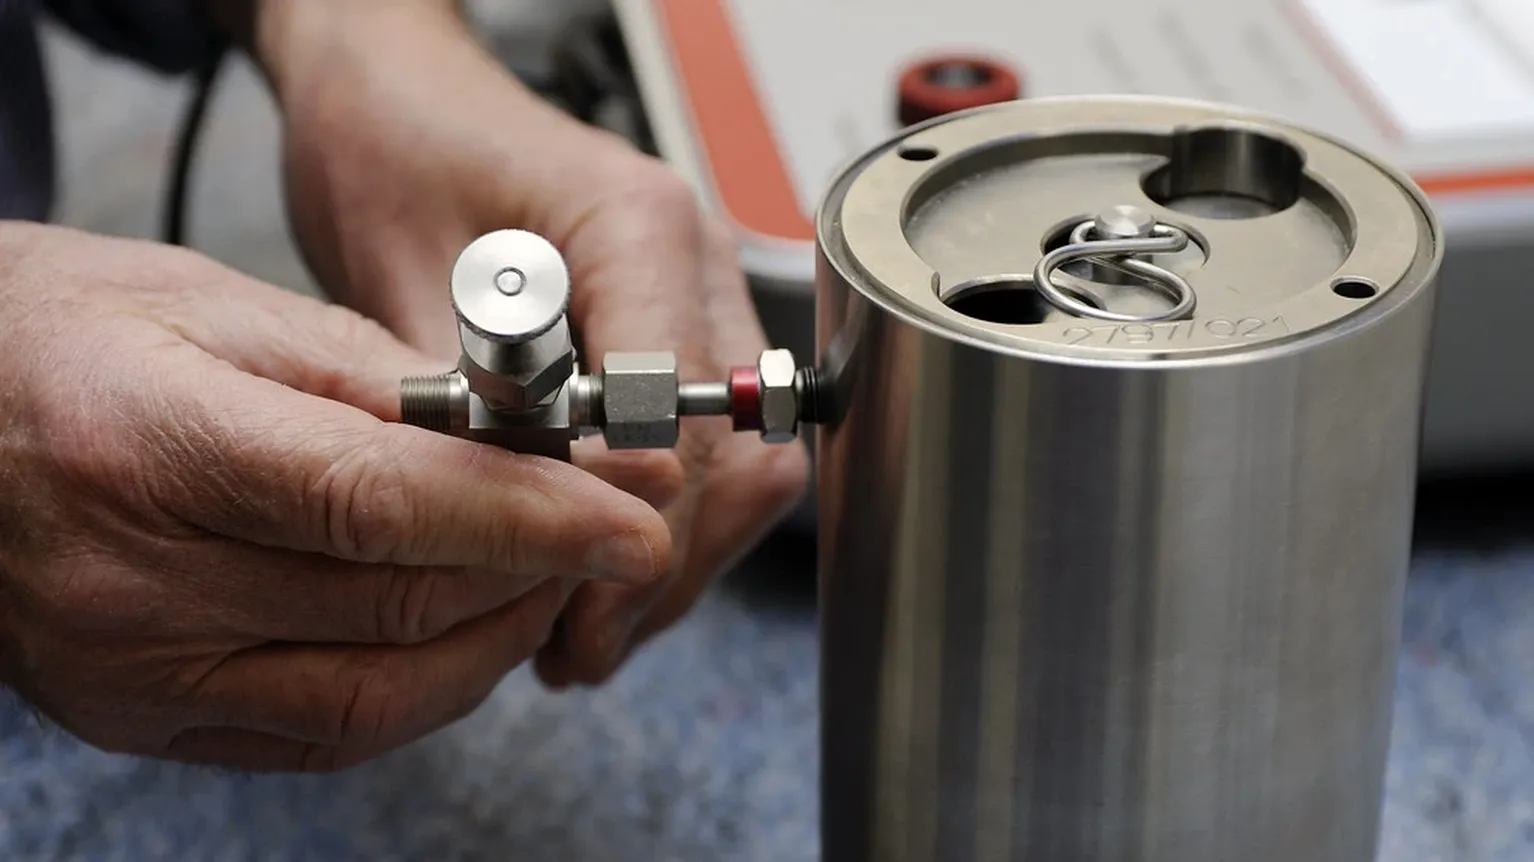
Why O-Rings Are the Most-Replaced Part on a Quick Coupling
A hydraulic quick coupling is a precision valve assembly, but its sealing is done by a handful of inexpensive elastomer rings. When a coupling starts to drip, leak under pressure, or weep past the sleeve, the cause is almost always one of these seals — not the machined body.
Replacing them is the cheapest repair in hydraulics: a seal kit for a 1/2” ISO 7241 coupling typically costs a fraction of a new coupling and takes under ten minutes with the right tools. The risk is ordering the wrong kit, because the same coupling size carries four different seals with four different jobs, and they are not interchangeable.
Where the Seals Sit on ISO 7241, ISO 16028 and ISO 5675
Every ISO quick coupling family seals at the same four points, with small naming differences:
| Seal position | What it does | Where it lives |
|---|---|---|
| Valve seal (poppet O-ring) | Seals the internal poppet valve when disconnected; holds the coupling’s own pressure | Inside the female body, on the poppet head |
| Nipple seal / male half O-ring | Seals the interface between male and female halves when connected | On the male nipple, behind the groove |
| Backup ring | Stops the interface O-ring extruding under pressure spikes | Sits alongside the nipple seal, visible as a thin white or PTFE ring |
| Sleeve / wiper seal | Keeps dirt out of the locking mechanism and grease in | Under the sliding sleeve, on the body bore |
On flat-face (ISO 16028) couplings the interface seal is a flat-face seal bonded to the male half’s face instead of a conventional O-ring, and the valve seat is a flat poppet — the same four functions, different geometry. On ISO 5675 agricultural couplings the arrangement is identical to ISO 7241 Series A in principle, but the seal sizes are specific to the ag range.
The Four Failure Modes
| Symptom | Failed seal | Why it happens |
|---|---|---|
| Drips from the tip when disconnected | Valve (poppet) O-ring | Normal ageing; hardened elastomer loses seating force |
| Leaks at the joint when connected and pressurized | Interface O-ring | Extrusion under pressure spikes, or swelled by wrong fluid |
| Weeps from behind the sleeve | Sleeve wiper seal | Contamination grinding the seal; grease washed out |
| Leaks only after the first reconnect | Backup ring missing | Previous repair skipped the backup ring; ring breaks under spike |
The classic mistake: replacing the visible interface O-ring, then finding the coupling still leaks — because the valve seal (invisible without disassembly) was the actual failure. A drip when disconnected is always the valve seal.
How to Measure an O-Ring So You Order the Right One
Do not guess by “it looks like a 3/8” coupling.” The same physical coupling size can use different O-ring cross-sections between manufacturers, and a 1/16” cross-section difference changes the seal entirely.
- Measure the cross-section (CS) with a caliper — the thickness of the ring’s rubber, not the outside diameter. Common values: 1.78 mm (0.070”), 2.62 mm (0.103”), 3.53 mm (0.139”).
- Measure the inside diameter (ID) by laying the ring flat — do not stretch it. Stretch distorts the ID by 5% or more.
- Record both as ID × CS, e.g.
12.42 × 1.78 mm. - Check the backup ring: if the kit you’re ordering is for the interface position, it should include a backup ring. A kit with no backup ring is a valve-seal kit.
- Compare against the manufacturer’s parts list — Parker 6600 Series, Faster FST Series, Stucchi, and the ISO 7241 universal couplings all publish seal kits by coupling size. Cross-reference the measured ID×CS against the kit’s stated ring sizes before ordering.
A thread gauge tells you the port thread (NPT vs BSPP vs JIC vs ORFS). It does not tell you the O-ring size. Measure the ring.
The Replacement Sequence
The full reseal of a ball-lock coupling (ISO 7241):
- Depressurize and remove the coupling from the circuit. Clean the exterior with solvent.
- Remove the sleeve — compress the sleeve spring with a snap-ring pliers or the manufacturer’s service tool, lift the spring, and slide the sleeve off. Note the orientation: the sleeve has a machined inner step that faces the balls.
- Remove the locking balls — tip the body; the balls fall out into a parts tray. Count them (typically 6–10 for 1/4”–1”). Do not reuse worn balls (see our guide on stuck couplings).
- Push out the poppet valve from the rear with a drift. The valve seal and its retaining washer come off the poppet head.
- Replace all seals from the kit — valve O-ring, interface O-ring, backup ring, sleeve wiper. Apply a thin coat of the manufacturer’s grease to the new rings; never install dry.
- Reassemble in reverse: poppet, balls, sleeve spring, sleeve. Rotate the sleeve through its stroke — it should travel smoothly with even resistance.
- Pressure-test before returning to service: connect to a test fitting and cycle to rated pressure, checking the tip and the joint for weep.
Flat-face (ISO 16028) variant: the flat-face seal on the male half is removed with a small pick — lift it from its groove without scratching the sealing face. The valve seat on the female side is a poppet with its own O-ring, replaced the same way as step 4.
Seal Material Quick Reference
| Material | Best for | Avoid |
|---|---|---|
| NBR (nitrile/Buna-N) | Standard mineral hydraulic oil, -30 to +100 °C | HFD-R ester fluids, ozone |
| FKM (Viton) | High-temperature circuits, aggressive fluids | Skydrol-type phosphate esters |
| EPDM | Phosphate ester fluids, water-glycol | Mineral oil — swells and fails fast |
| PTFE (in backup rings) | Extrusion resistance under pressure spikes | Elastic sealing alone (too stiff) |
When in doubt, match the O-ring material to the fluid the machine runs. Fitting an EPDM kit to a mineral-oil circuit is a leak waiting to happen.
FAQ
Q: Can I replace just one O-ring instead of the whole kit? A: You can, but the other seals are the same age and the same wear state. A reseal job that skips the valve seal usually comes back to the bench within weeks. Kits are cheap; the labour of a second removal is not.
Q: How often should quick coupling seals be replaced? A: There’s no universal interval — it depends on cycles, temperature and fluid. The practical rule: replace seals when the coupling leaks or drips, and reseal as part of a major component overhaul. Some fleets standardize a reseal every 2–3 years on machines that couple/decouple daily.
Q: Does a leaking coupling damage the machine? A: Yes, two ways: fluid loss and contamination ingress. A weep at the tip draws air and dirt into the circuit when disconnected, and contamination is the leading cause of valve and pump wear in the rest of the system.
Q: What’s the difference between a seal kit and a rebuild kit? A: A seal kit is O-rings + backup rings. A rebuild kit adds the wear parts — locking balls, sleeve spring, and sometimes the poppet. If the balls are flat-spotted (see the stuck-coupling guide), order the rebuild kit.
Q: Are ISO 7241 Series A and Series B seal kits interchangeable? A: No. The two series share the same concept but differ in body dimensions and seal sizes. Order by the series stamped on the body — fitting a Series A kit into a Series B coupling will not seal.
NEXT STEP
Need the Right Hydraulic Quick Coupling for Your Machine?
Tell us the standard, size, thread and quantity — we respond within 24 hours with pricing and lead time.
Written by
Ray ChanHydraulic quick coupling sourcing specialist. Ray helps distributors, OEMs and maintenance teams find the right ISO 7241 / ISO 16028 / ISO 5675 couplings and replacement parts.